

Install from the online pack library
- Open the Browse & updates tab.
- Under Online pack library, select Refresh / refresh the registry if the list is empty or stale.
- Review the pack name, version, target domain or self-hosted badge, description, and compatibility status.
- Select Install.
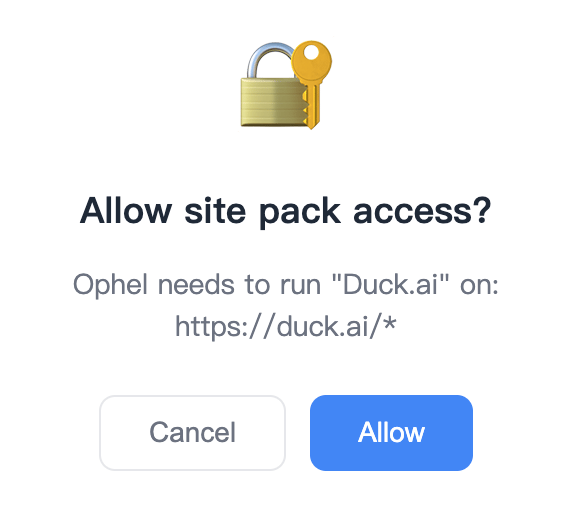
- In the browser extension, approve the requested target-domain permission. Ophel requests only the HTTPS origins referenced by the pack or binding.
- Reload the target site after installation completes.
- the signed index
- the immutable package digest
- the pack’s
minAppVersion - the complete runtime schema
Import a local JSON pack
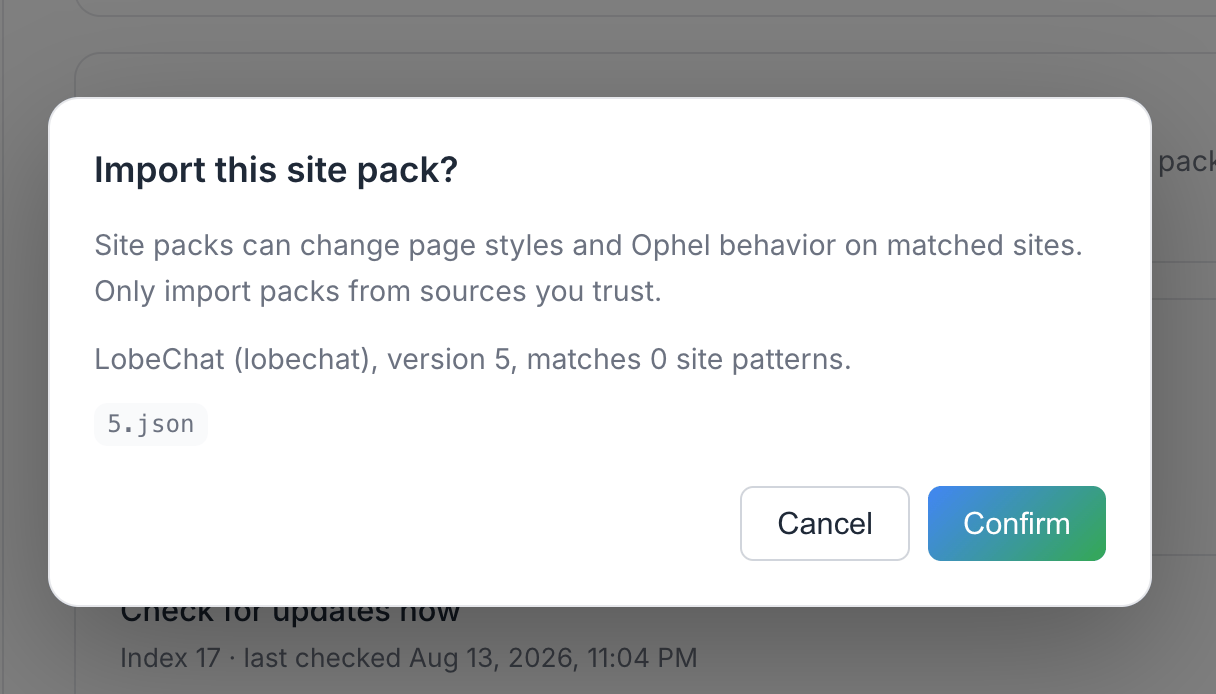
Use Local JSON import when testing a pack you created or received outside the community library.- Select the import control and choose a
.jsonfile. - Review the confirmation dialog: pack name, ID, version, match-pattern count, and risk notice.
- Confirm the import.
- Approve target-domain permission in the extension when prompted, then reload the site.
- not authenticated by the community registry signature
- not auto-updated
Extension permissions
The extension uses optional host permissions and dynamic content-script registration for Site Pack origins.- Installation or binding is rolled back if required permission is denied, so a half-installed pack is not left active.
- After restoring a backup on another browser, pack data is restored, but domain permission must be granted again. The Site Packs page lists packs under Reauthorize restored site packs.
- Disabling or uninstalling the last pack that references an origin removes its dynamic registration. If several packs or custom bindings share one origin, Ophel keeps the registration until the final reference is removed.
Bind a custom origin
Custom origins support self-hosted or same-application deployments whose domain is not listed in a pack’s staticmatches.
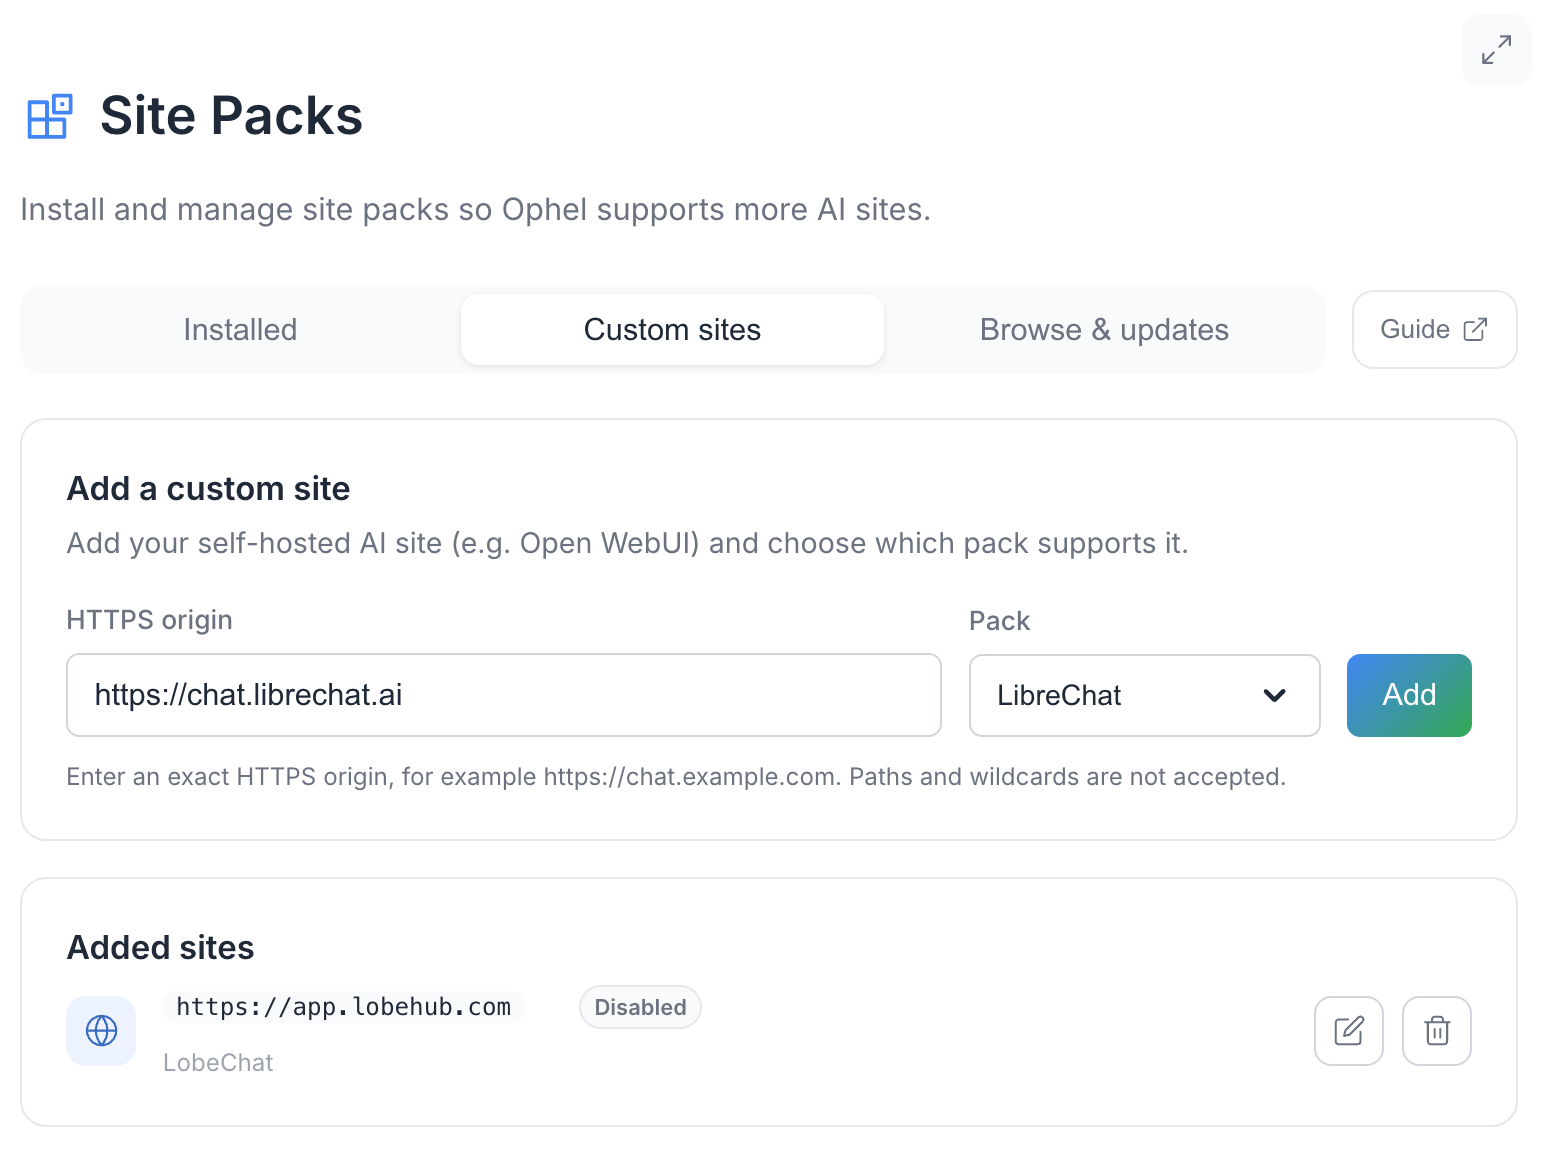
Typical self-hosted packs ship with matches: [] and show a Binding needed / Self-hosted badge until you add an origin.
- Open the Custom sites tab.
- Enter an exact HTTPS origin such as
https://chat.example.com. Paths and wildcards are rejected. - Choose an installed pack.
- Save the binding.
- Approve host permission in the extension.
- Reload the bound origin.
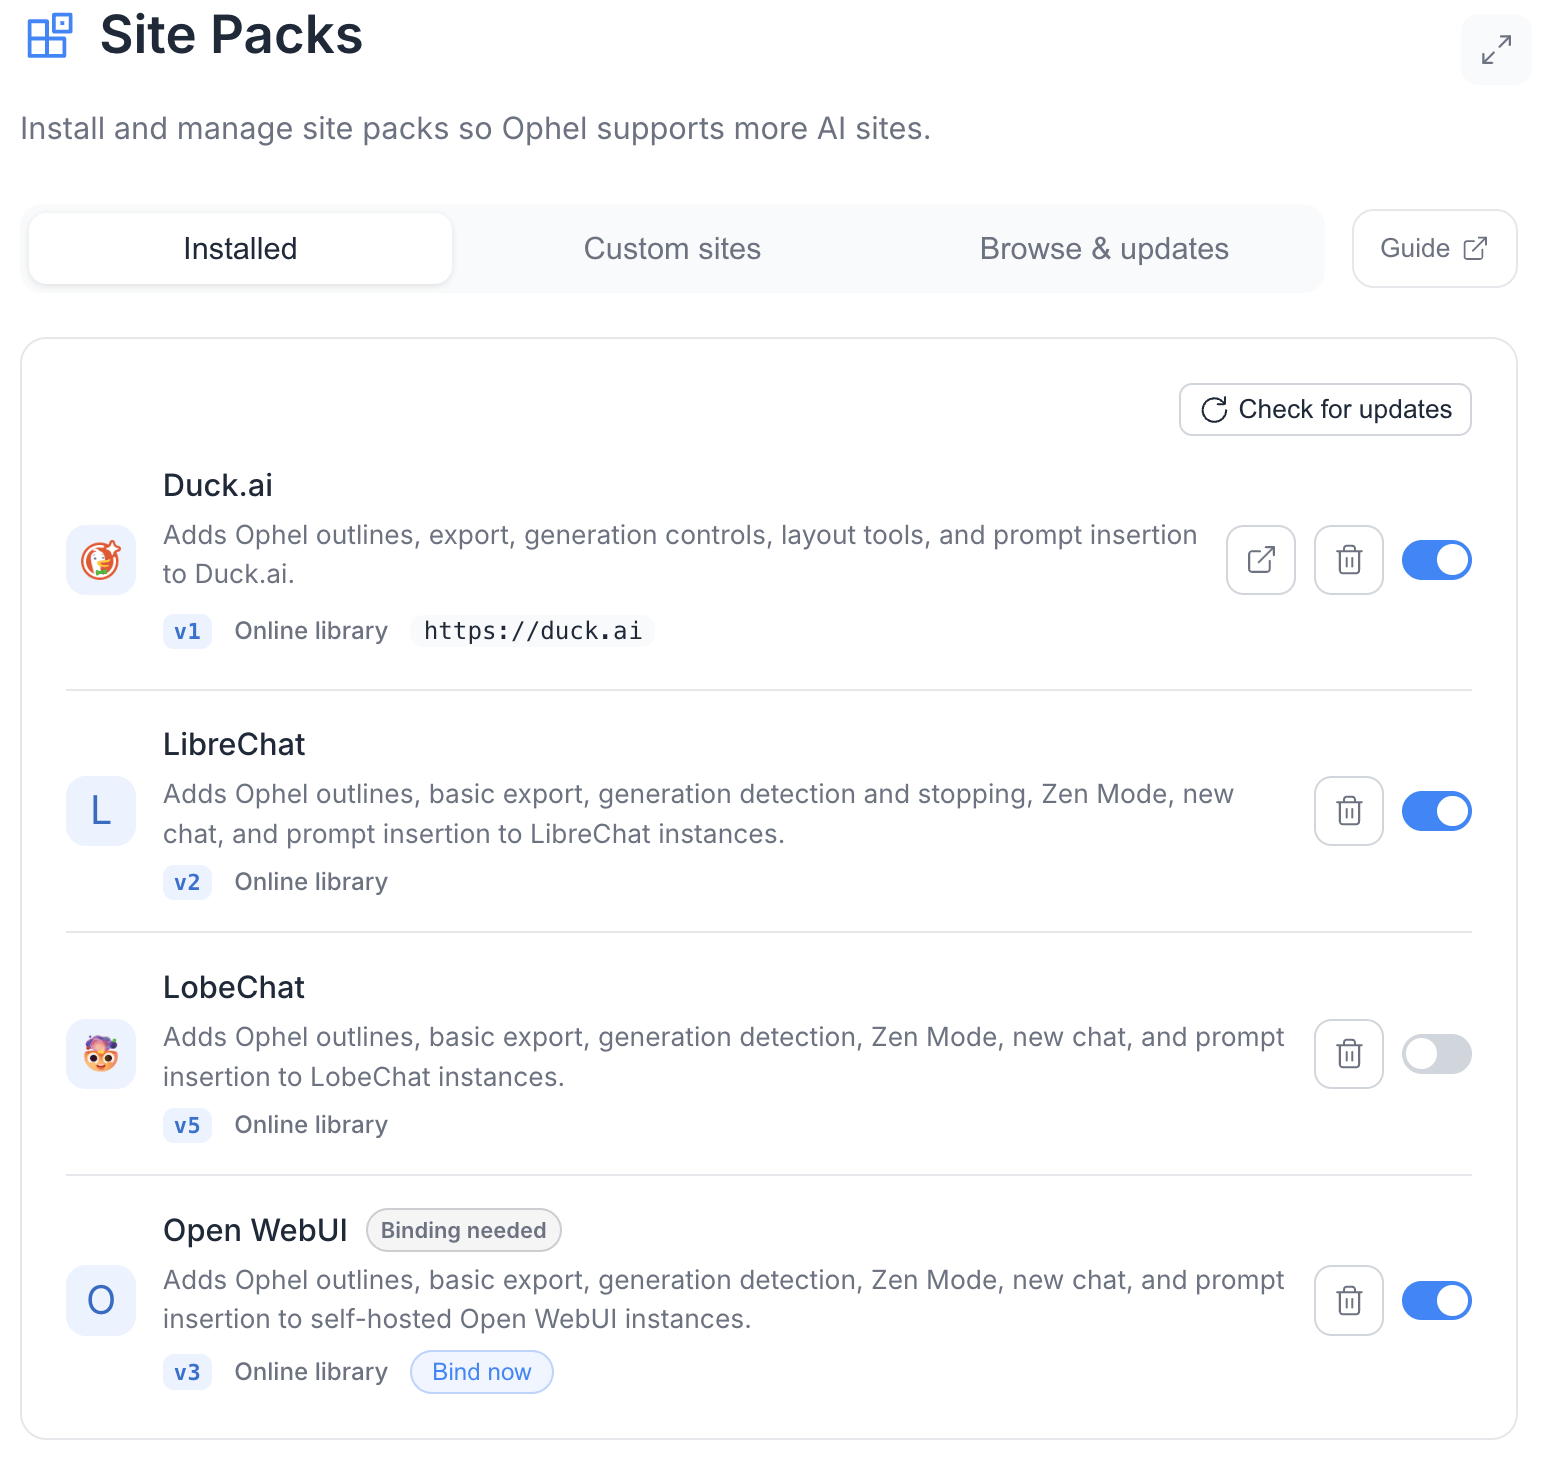
Update, disable, or uninstall
When a registry pack requires a newer Ophel version, the UI shows Requires Ophel or newer.
Status badges you may see
Troubleshooting install problems
If a pack installs but the site is not recognized:- Confirm the pack is enabled.
- Reload the target tab after granting permission.
- Check that the current origin matches the pack or custom binding exactly, including scheme and host.
- For self-hosted packs, confirm a custom origin binding exists.
- If the pack is from the online library, check for a newer version.
- If the latest pack still fails, open a GitHub issue with the site URL, pack version, Ophel version, and failed selector names — without private conversation content.